My son started preschool this fall. One of the things I love about his school is that they do crafts every day. The teachers are very creative with the crafts, and they use the time as an opportunity for the kids to manipulate all kinds of mediums. Here are some of my favorite projects so far:
Apple Trees. I was parent of the day when they made these. The branches are handprints, they used their arms to stamp the trunk, and dotted red apples with their pointer fingers.
String Leaves. They did these by dragging string through the paint, then across the paper.
Paper Plate Pumpkins. An easy one: paper plate, orange paint, cut out eyes, nose, and mouth.
Marble Spider Web. Similar to the String Leaves, but this time rolling marbles in black paint then across the page.
Turkey. This may be my current favorite. The handprint turkey where each finger was painted a different color for the tail and the palm and thumb made the body and head. Add legs, waddle, and beak plus a google eye. The teacher wrote what each kid said they were thankful for. Jackson said, "My rooster and my chickens." We were asked before leaving if we had chickens, or if Jack was making up tales. In an earlier activity, he said he was thankful for "his mom and dad and brother Jonah."
Pudding Paint Bear. Self explanatory with google eyes.
I'm looking forward to the upcoming projects. I hear they're making gingerbread men from sandpaper next week.
I bought a new Ergo carrier from the folks at babysteals. I was a little apprehensive about it, but I convinced myself that there was bad lighting in the picture and the real thing would be beautiful. In real life, the carrier was worse than in the photograph. It was black with flower embroidery details in the most shocking pink, gold, and blue jewel tones. The colors were so bright that I was reluctant to wear it out in public. I've heard many people love their Ergo's and I wanted to love mine too, but I just couldn't.
I tried unpicking the embroidery. Unpicking it didn't harm the fabric, but they had done such high quality needlework, that I couldn't get the thread to come out. So I had to take drastic measures with my old friend the Sharpie. I've used the Sharpie before on fabrics: to cover scuffs on my black shoes, and to blacken the white stitching on black jeans (a decade after Girbaud Jeans made white stitching cool). In the case of the jeans, the Sharpie worked great, but it washed out and needed to be redone before each wearing.
So with some experience under my belt, and no intention of laundering the carrier frequently, I picked a discrete location to try my fix. I liked it and proceeded to recolor all of the embroidery. It turned the glaring jewel tones into muted accents. The gold became brown, the pinks became dark purple, and the blues turned to navy.
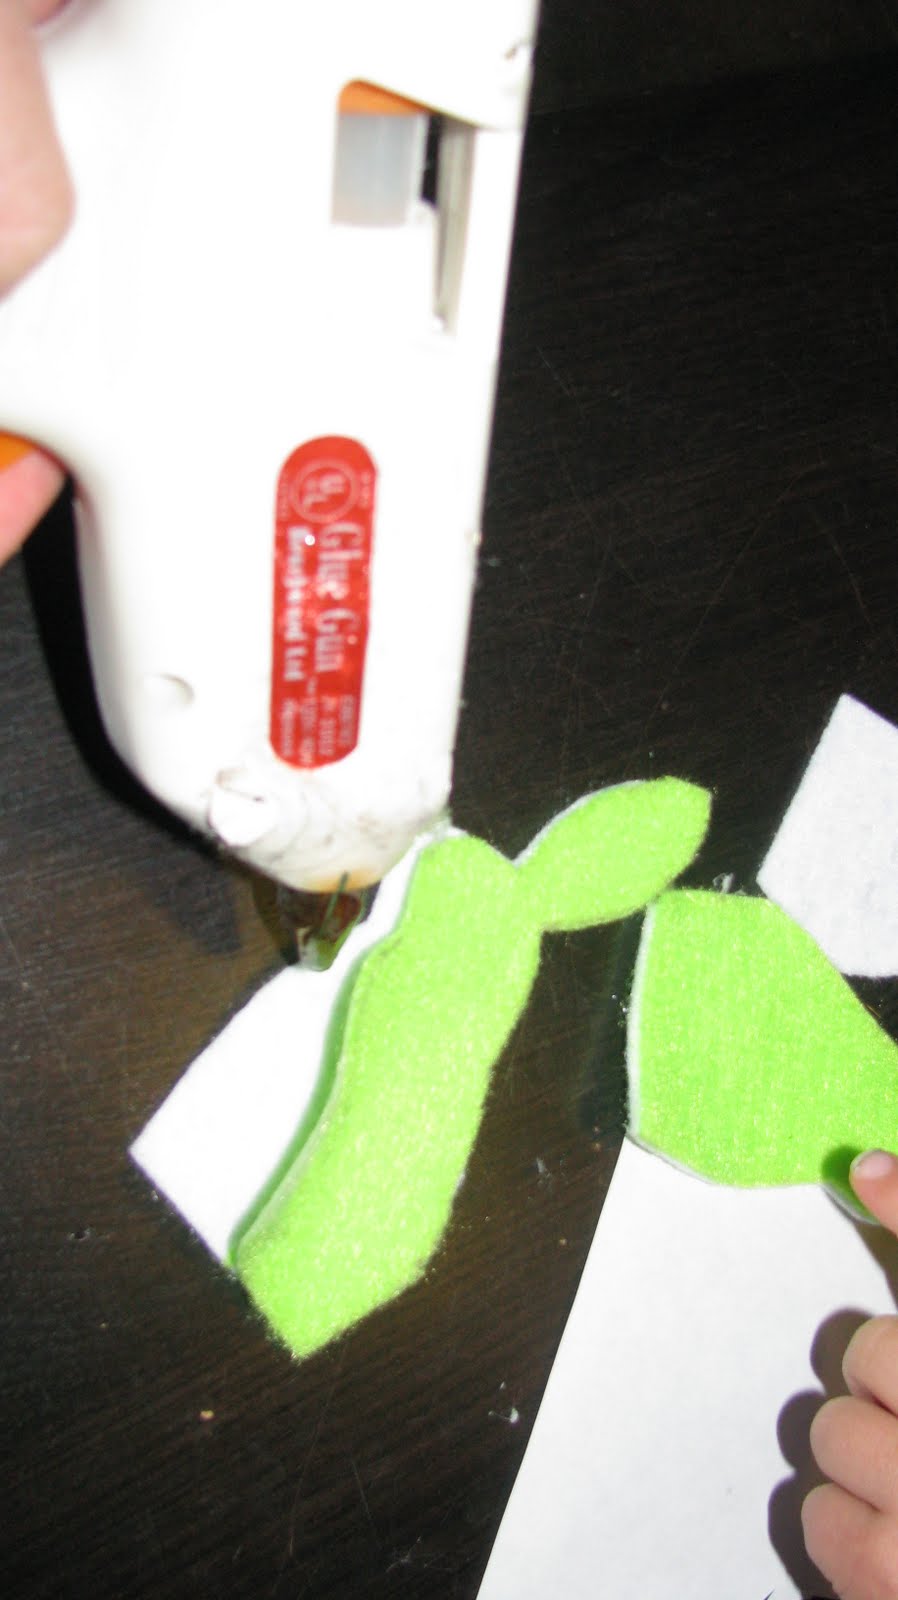
I adapted the super sweet bunny finger puppets from purlbee http://www.purlbee.com/bunny-finger-puppets/ from a hand sewn and embroidered version to a glue gun, marker, and stick on eyes version. It's now perfect to hold the attention of an active 3 year old.
You'll Need:
1 square felt in each color.
I used white (1 square felt made 4 bunnies plus extra. Probably could make 5), pink, orange, green, and blue.
Disappearing ink fabric marker
Hot glue gun and glue sticks
Markers
Stick on gems, google eyes, or other eyes of your choosing
pom poms.
First, download a copy of the bunny pattern http://www.purlbee.com/storage/bunnypuppet.pdf and cut it out. Trace it using your disappearing ink marker twice each in white and colored felt for each bunny you plan to make. Then cut all of your bunnies out. I did this in advance to keep the working time short with my child.
Stick eyes on each bunny (Perfect job for the 3 year old) and draw on the whiskers and noses. Be careful to make pairs of white bunnies that face each other so that you'll have a left and right profile when they go together.
Word of caution: Warn your child repeatedly of the danger of the hot glue gun. Do all hot glueing yourself and enlist the little one to hand you parts.
Run a bead of glue around the backside of a white bunny and glue down a colored bunny. I found the glue got too cold to do the full bunny at once, so I did 1/2 at a time. You'll go around the full perimeter including the ears and bottom. Repeat with the remaining pairs of white and colored bunnies. Next you'll run a bead of glue around a colored bunny to mate the pairs. This time, you'll leave the bottom open and glue around the head (not the ears). Add a dab of glue to the rump and glue on a pom pom tail. I also folded my bunny ears back and added a dab of glue so the colors show. I think the glue gunned bunnies must be a bit stiffer than the hand sewn version. That's it, done!
Sorry, I'm too lazy to steal their pictures and post them here.
And realistically, I won't be making these any time soon, but I do love them. Maybe Saturday (if I don't have a new baby by then) I'll adapt the bunny finger puppets from felt to craft paper and document the adaptation for a tutorial here. That sounds like a good snowy day activity for a 3 year old.