I bought a new Ergo carrier from the folks at babysteals. I was a little apprehensive about it, but I convinced myself that there was bad lighting in the picture and the real thing would be beautiful. In real life, the carrier was worse than in the photograph. It was black with flower embroidery details in the most shocking pink, gold, and blue jewel tones. The colors were so bright that I was reluctant to wear it out in public. I've heard many people love their Ergo's and I wanted to love mine too, but I just couldn't.
I tried unpicking the embroidery. Unpicking it didn't harm the fabric, but they had done such high quality needlework, that I couldn't get the thread to come out. So I had to take drastic measures with my old friend the Sharpie. I've used the Sharpie before on fabrics: to cover scuffs on my black shoes, and to blacken the white stitching on black jeans (a decade after Girbaud Jeans made white stitching cool). In the case of the jeans, the Sharpie worked great, but it washed out and needed to be redone before each wearing.
So with some experience under my belt, and no intention of laundering the carrier frequently, I picked a discrete location to try my fix. I liked it and proceeded to recolor all of the embroidery. It turned the glaring jewel tones into muted accents. The gold became brown, the pinks became dark purple, and the blues turned to navy.
I adapted the super sweet bunny finger puppets from purlbee http://www.purlbee.com/bunny-finger-puppets/ from a hand sewn and embroidered version to a glue gun, marker, and stick on eyes version. It's now perfect to hold the attention of an active 3 year old.
You'll Need:
1 square felt in each color.
I used white (1 square felt made 4 bunnies plus extra. Probably could make 5), pink, orange, green, and blue.
Disappearing ink fabric marker
Hot glue gun and glue sticks
Markers
Stick on gems, google eyes, or other eyes of your choosing
pom poms.
First, download a copy of the bunny pattern http://www.purlbee.com/storage/bunnypuppet.pdf and cut it out. Trace it using your disappearing ink marker twice each in white and colored felt for each bunny you plan to make. Then cut all of your bunnies out. I did this in advance to keep the working time short with my child.
Stick eyes on each bunny (Perfect job for the 3 year old) and draw on the whiskers and noses. Be careful to make pairs of white bunnies that face each other so that you'll have a left and right profile when they go together.
Word of caution: Warn your child repeatedly of the danger of the hot glue gun. Do all hot glueing yourself and enlist the little one to hand you parts.
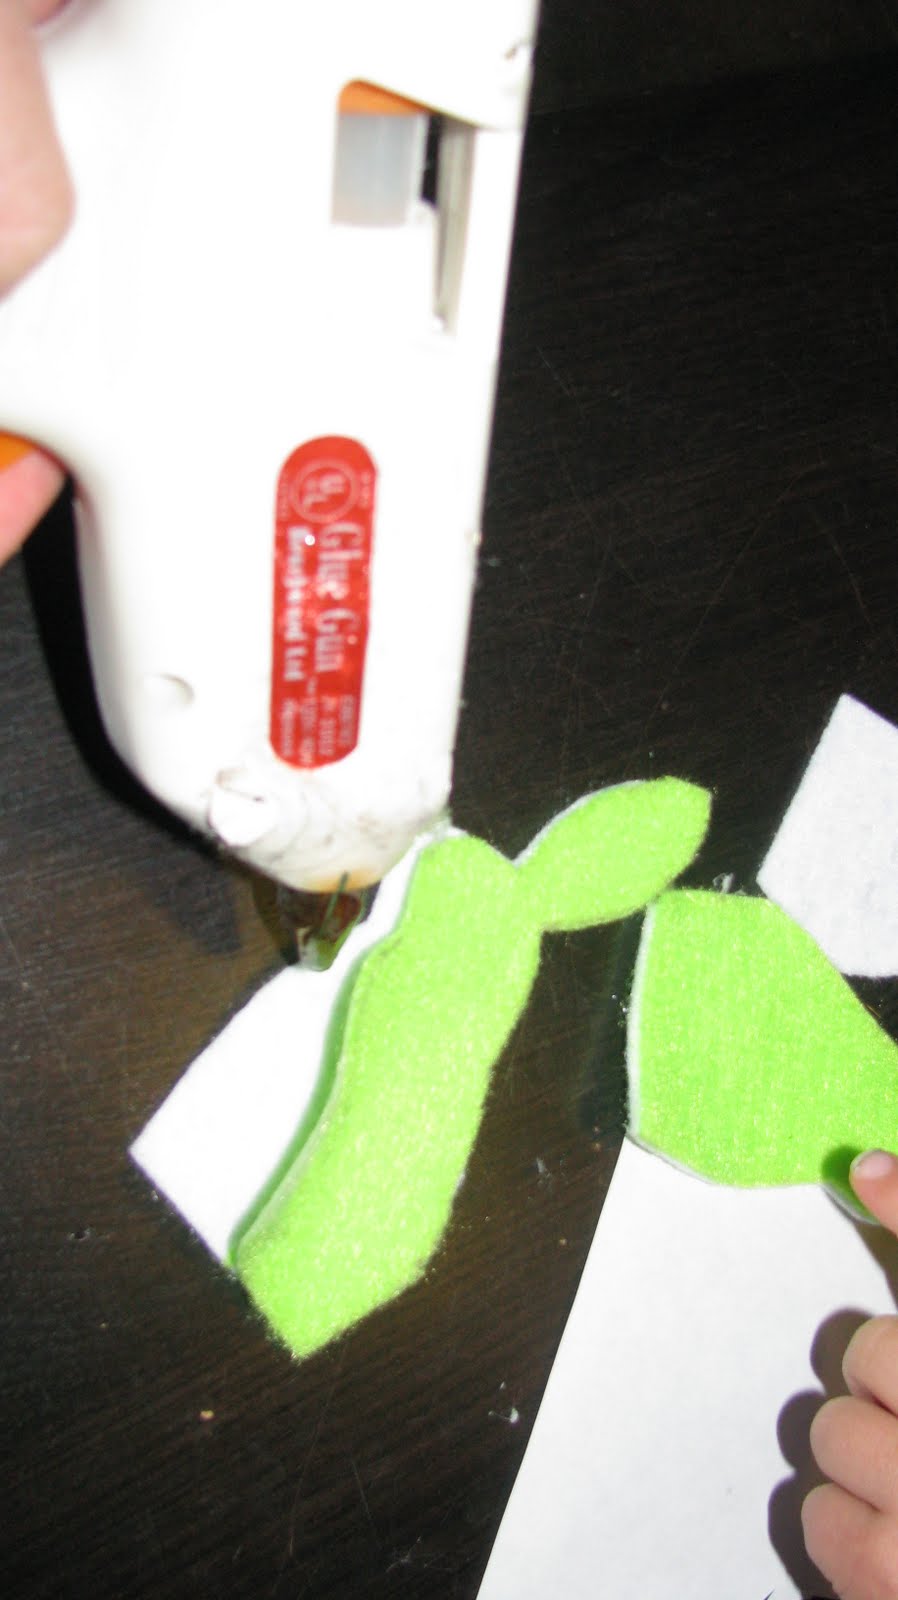
Run a bead of glue around the backside of a white bunny and glue down a colored bunny. I found the glue got too cold to do the full bunny at once, so I did 1/2 at a time. You'll go around the full perimeter including the ears and bottom. Repeat with the remaining pairs of white and colored bunnies. Next you'll run a bead of glue around a colored bunny to mate the pairs. This time, you'll leave the bottom open and glue around the head (not the ears). Add a dab of glue to the rump and glue on a pom pom tail. I also folded my bunny ears back and added a dab of glue so the colors show. I think the glue gunned bunnies must be a bit stiffer than the hand sewn version. That's it, done!
Sorry, I'm too lazy to steal their pictures and post them here.
And realistically, I won't be making these any time soon, but I do love them. Maybe Saturday (if I don't have a new baby by then) I'll adapt the bunny finger puppets from felt to craft paper and document the adaptation for a tutorial here. That sounds like a good snowy day activity for a 3 year old.
I love these baby blankets. I was given one for my newborn, and 3 years later its still in heavy use. We keep it in the car for travel. The blankets are big enough to be useful, but because they don't have batting, they still fold up compactly and tuck into a bag. I also take them with me on flights.
There are 2 variations, one with straight edges and rounded corners, or one with scallop edges. I stopped making the scalloped style because it takes twice as long, but I'll still try to explain it here. If I'm not successful, I adapted my pattern from one found in the book "Bend the Rules Sewing" by Amy Karol--pick up a copy for yourself, or visit her blog The Angry Chicken.
To make without scallops,
1 Yard each of 2 Contrasting Flannel Fabrics
Thread
Salad Plate (To Trace Around)
With flannel, the layers stick together, if you don't use 2 flannel layers, you'll need something to help stick layers together. I lay mine out on the floor since I don't have a table big enough, right sides together. Use a salad plate to trace as a pattern for round corners. Cut the 2 pieces of fabric together all the way around, cutting off the selvage edges so that the 2 pieces are just the same size. I use the rotary cutter for all of the cuts, careful not to cut the floor since the blankets are bigger than the cutting mat. Safety pin the fabric together. I pin the center, corners, and every 6-8 inches around the edges. Put the pins in about 1 inch so that you have room to sew around the edges.
Sew around the perimeter as close to the edge as you are comfortable with. Leave a 6-8" section open so that you can turn it right side out.
Remove the pins, turn it right side out, smooth the corners, and iron around the perimeter. Carefully turn the edges under where you left it open, iron and straight pin in place. Now sew around the right sides with contrasting fabric.
Presto, you are done.
If you get 1.3 yards of fabric, you can make some matching burp cloths, cut to a reasonable size, maybe 8" X 15" and use the same sewing methods as the blankets.
To make with scallops (top picture lower right)
1.3 Yards each of 2 Flannel Fabrics. (The Scallops Make the Blanket a Little Smaller.)
30” length of Freezer or Butcher Paper
Salad Plate for Tracing
First trace the plate ¾ of the way around to make the corner, line up the plate tangent to the paper edge. Then move the plate down a bit, line the tangent up with the paper edge and trace 1/3 of the plate, so that the tip of your 1/3 touches the tracing you made at the corner. It should touch the line, but I didn't check the math, so you probably won't be at the edge of the corner plate tracing line. Move the plate down again and trace 1/3. Continue until you're out of paper. You can probably also trace it on the short edge to help line up the pattern on the other edge. Cut around your pattern.
The first blanket I made, I traced ½ of the plate for the scallop. It was still cute, but the scallops were pretty floppy. It's in the top picture, lower left.
Lay out your fabric as I described above, right sides together. Use a water soluble disappearing ink marker to trace the pattern onto the fabric. When you iron with steam, the marks will disappear. Start at one corner and trace the pattern down the side edge, you want to be far enough in that the selvage edge will be cut off. Flip your pattern over to make the next corner and trace pattern toward your initial marks. It probably won't line up perfectly, but that's OK. Just trace it. Then go back and adjust the scallops so that they gradually meet up. No one will notice this. Repeat this process around the other 3 sides. Cut the fabric around your traced lines, and safety pin together.
Sew around the edges close to the edges. Leave a scallop open for turning. After sewing, you can clip the rounded corners so that it turns smoothly. At a minimum, clip the corners where the scallops meet or it will pucker.
Take out the pins and turn the fabric right side out. Push your finger around the inside of each scallop to make sure its fully turned and smooth. Iron around the perimeter. Carefully turn the edges of the open scallop, iron and straight pin. Sew around the perimeter with a contrasting thread color. That's it, you're done.
Skill Level: Easy to Moderate (with scallops)
Time: 1 hour for straight edges, 2 hours for scalloped + 1/2 hour to make the pattern
Cost: $5-$18 depending on fabric source and sales